screenshots.png

The default keyboard shortcuts are not set in stone.  They're not designed for digital painters.  If you spend significant amounts of time painting in Photoshop, you owe it to yourself to design a better system.  luckily, Photoshop makes it easy to re-bind the key commands.  

Despite all of this, you might be dragging your feet - because designing a keyboard shortcut layout from scratch is an intimidating task.  With this challenge in mind I've created the Shortcut Layout Designer, which is a set of PSDs to help you brainstorm possible new layouts.  It consists of two documents: one full of labeled key icons, and and the other is an  empty template to brainstorm your designs.  Since I've done the hard work for you, the barrier to designing your own keyboard shortcut layout is much lower.  

Ultimately, this template won't rewrite your keyboard shortcut file.  Think of it as a visual blueprint.  you'll still need to manually enter the commands in the Edit > Keyboard Shortcuts menu.  

If you're interested in hearing more about Keyboard Shortcuts, make sure to watch these other videos:  Actions, Custom Keyboard Shortcuts, Custom Controllers, and The Brush Tool Maze.
Posted
AuthorMatt Kohr
20 CommentsPost a comment

In Line Removal parts 1 and 2 we talked about transitioning from a drawing to a painting.  Using a photo-study of a skull, we slowly removed the initial line drawing and replaced it with painted edges.  In today's video I'll showcase a totally different approach - working with a flat document instead of a layered one.  Neither technique is 'correct', but it's nice to know multiple ways to achieve the same result.  

Posted
AuthorMatt Kohr
4 CommentsPost a comment

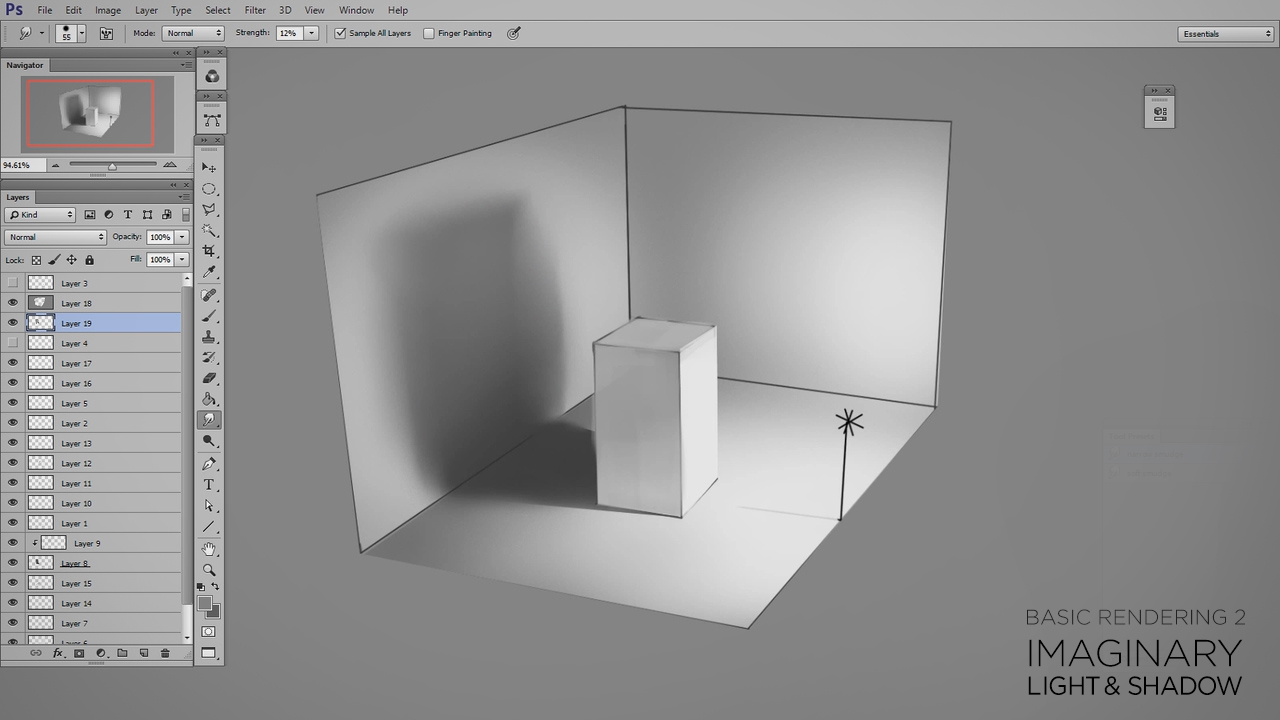
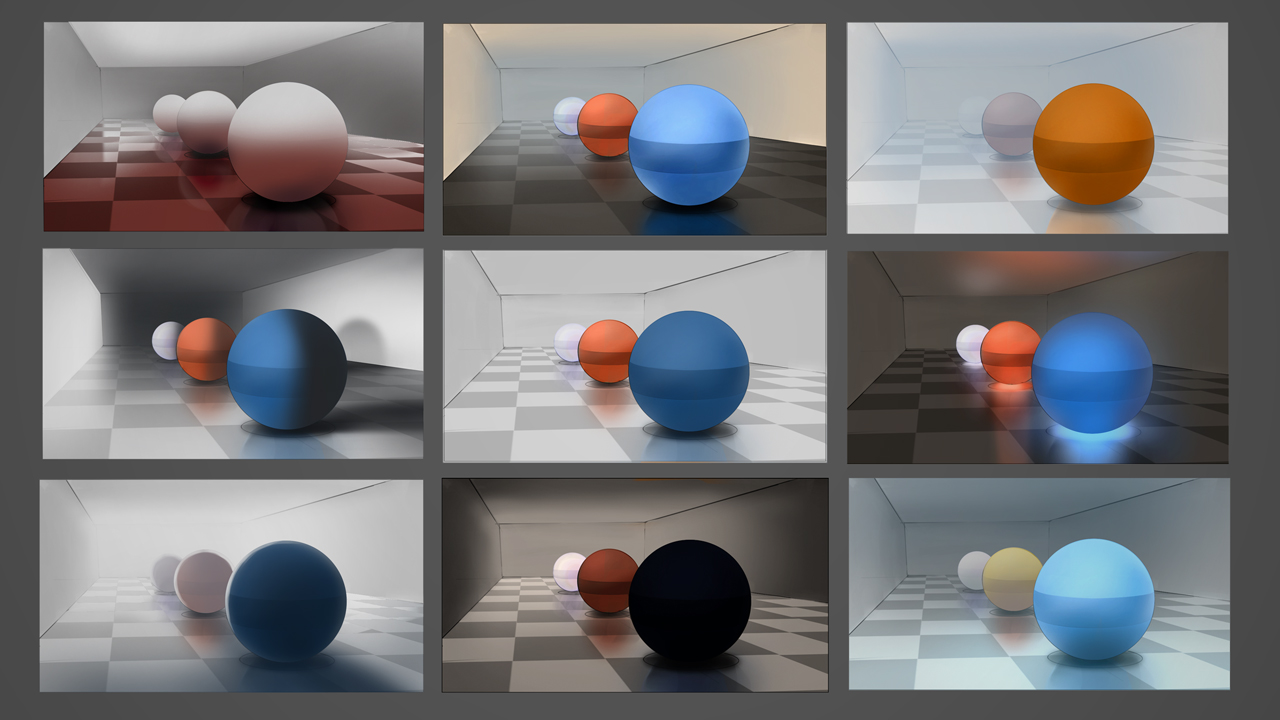
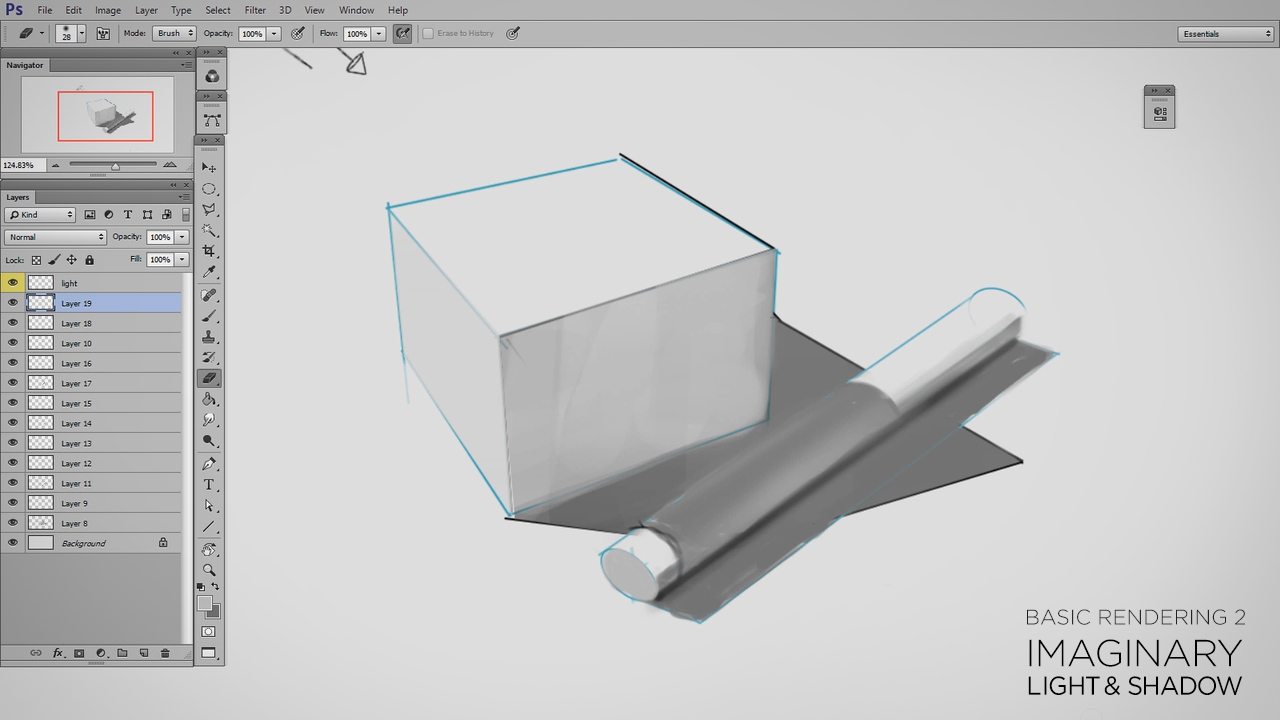
It makes me extremely happy that basic rendering remains one of the most popular topics on Ctrl+Paint.  Describing form through light and shadow truly is the foundation of realistic painting.  With this in mind, Basic Rendering 2: Imaginary Light and Shadow continues where Basic Photoshop Rendering left off.  In this new premium series, you'll learn to apply the observational skills you learned in Basic Rendering 1 onto imaginary objects.  Though I focus primarily on simple shapes, the series shows how general rules apply equally well to complex illustrations.  If you want to improve the realism of your concept art and illustrations, make sure to chweck out this series in the Ctrl+Paint store.  

Available Sep. 12th in the Ctrl+Paint Store

Posted
AuthorMatt Kohr
9 CommentsPost a comment

It doesn't matter how much detail your image has, most people won't need to look at it on the side of a bus.  Since we can agree on that point, why would you save an image for the web with such gigantic resolution?  This video explores the best way to save your documents for viewing on the internet. 

Posted
AuthorMatt Kohr
9 CommentsPost a comment

In a previous video I firmly stated that the smudge tool is not good for blending.  Well, I've changed my mind.  This video updates my opinion, and offers settings to add nuance and control to the smudge tool's blending ability.

Posted
AuthorMatt Kohr
11 CommentsPost a comment

Using the warp tool is a great way to apply overlays to your illustration.  What you might not realize, though, is that it's a lot more powerful when mixed with "Smart Objects".  In this video we'll take inspiration from video game texture mapping to take our overlays to an entirely new level.

If you've not seen the "Decal Warp" technique mentioned in this video, make sure to  watch it first.

Posted
AuthorMatt Kohr
12 CommentsPost a comment

This video finishes off where the previous one left off, in my argument for painting on a short (or flat) layer stack.  In this installment, I explore the refinement process.  Refinement can be challenging for beginners, since the next step, fix, or manipulation,  is not always obvious.  To guide the refinement process, this video focuses on edges: the intersection of two different areas of value. 

The video also mentions the new series "Edge Control", which is now available in the Ctrl+Paint store.  

Posted
AuthorMatt Kohr
6 CommentsPost a comment

Much of Ctrl+Paint is dedicated to strictly digital  workflows, and they usually rely heavily on layer use.  With layers comes complexity, and with complexity comes interruption.  Sometimes it's nice to take a break from this mindset and simplify.  This video is the first half of a two part argument for painting 'flat'.  You might not permanently change your workflow, but it's worth dabbling.  What study will you try?

Posted
AuthorMatt Kohr
7 CommentsPost a comment

Having trouble drawing long, sweeping, line-work?  Curves are a huge challenge to draw with the brush tool in Photoshop, especially if you don't have access to a Cintiq.  Instead of using tools like French Curves or ellipse templates, "Lazy Nezumi" empowers Windows users to make beautiful line-work.  This application modifies the path of your cursor, smoothing out jitters and hitches in your stroke.  It's not a magic bullet, and isn't appropriate for all situations- but it's certainly worth the $30 price tag.  If nothing else, make sure to give the free trial a spin.

To Mac users:  is there a Mac equivalent of this software?  Let us know in the comments.  Thanks!

Posted
AuthorMatt Kohr
37 CommentsPost a comment

The brush tool is your digital painting workhorse.  Since it'll be active for the vast majority of your time painting, it's worth knowing all of the 'secret' hotkeys.  My very favorite is 'brush diameter', though this video also shows how to modify hardness and opacity.  Best of all, these hotkeys are stylus-centric, allowing you to make quick, accurate adjustments.

Posted
AuthorMatt Kohr
18 CommentsPost a comment

One of the hardest shapes to draw accurately is an ellipse.  When accuracy is extremely important, traditional artists might use plastic ellipse templates to help with their drafting.  Photoshop offers a variety of alternatives, but my favorite is the 'shape tool' - which is showcased in this video.

Posted
AuthorMatt Kohr
29 CommentsPost a comment

Changing the color of your brush tool is a fundamental skill for digital painting.  In this video we'll explore some alternative methods to the basic 'Color Picker' menu, and how they might streamline your workflow.  

Posted
AuthorMatt Kohr
19 CommentsPost a comment